In this blog, we give you the instructions to help you install, configure and start an R server to allow Tableau integration. This is not meant to serve as a tutorial or instruction guide on using R itself, which is a complex product. If you’re interested in learning more about R, you’ll find links to additional resources at the end of this post.
First, download the appropriate R files for your environment. While there are a number of GUI interfaces and add-ons available for R, we will be focusing on the command line version and getting the base install.
Files can be found at http://cran.r-project.org. From the home page you will immediately see the option to download R for your operating system.
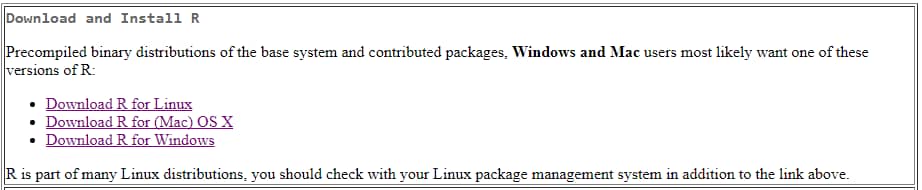
Select the appropriate link to continue.
For Windows, click on the link labeled install R for the first time.

From the next screen, select Download R 3.4.3 for Windows.
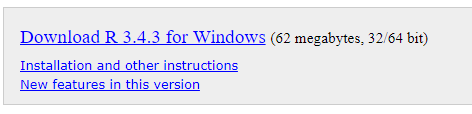
Save the file so you can easily find it for the next step.
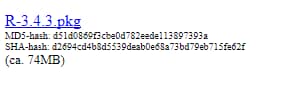
For Mac, click on the Download R for (Mac) OS X. On the next page, look under the section labeled Files and click the link for R-3.4.3.pkg.
Save this file to a convenient location for use in the next step.

Installation
With the files downloaded, we can begin the installation. For the purpose of this article, we will focus on the installation process for Windows only. The Mac installation is similar and requires double-clicking the PKG file downloaded previously. Once installed, both versions have the same overall interface.
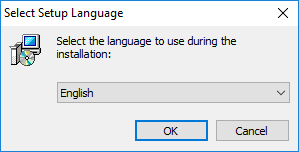
1. Start the installation by double-clicking on the R-3.4.3-win.exe file. AnswerYes if prompted to allow the file to run. Pick your language and click OK.
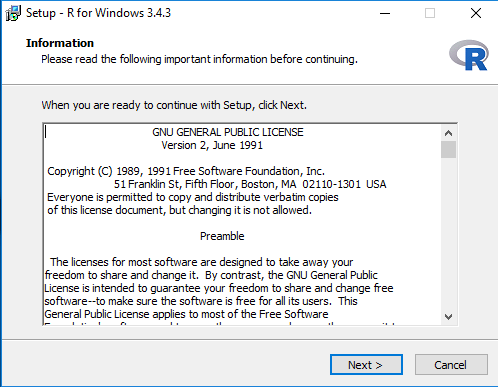
2. Read the Terms of Service and click Next.
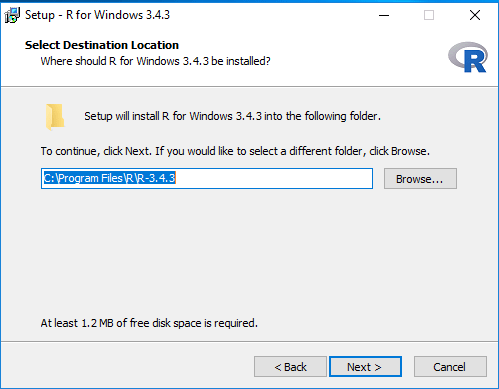
3. Change the installation directory if desired, then click Next.
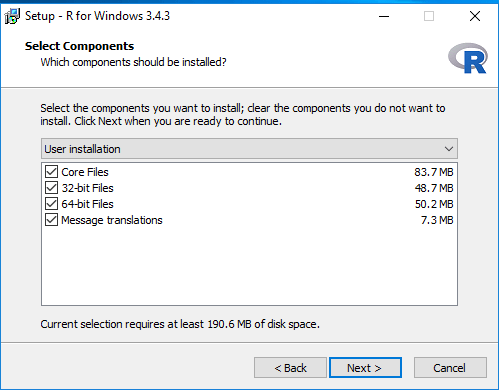
4. In the Select Components dialog box, you can leave all options selected or you can specify just 32-bit or 64-bit files based on your environment. Leaving everything selected will not cause any problems.
NOTE: No matter what option you specify, you must leave Core Files selected. Click Next.
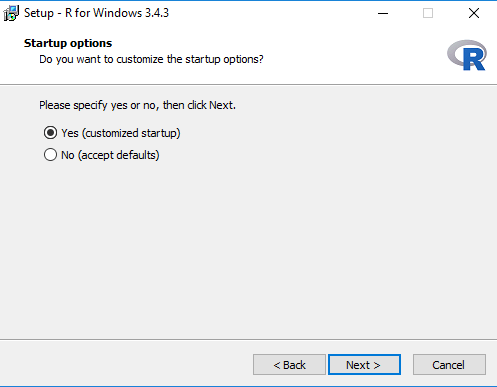
5. On the next dialog box, click the radio button next to Yes (customized startup). We will change the way R starts on the machine. Click Next.
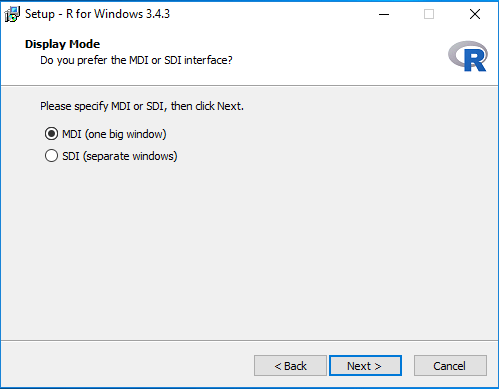
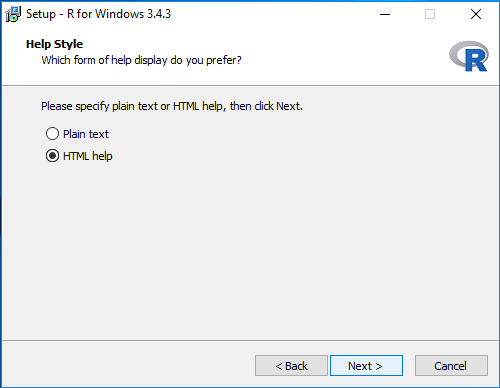
6. Accept the default options for Display Mode and Help style by clicking Next on the two following dialog boxes. As you get more advanced with R, you can change the Display mode later in the interface.
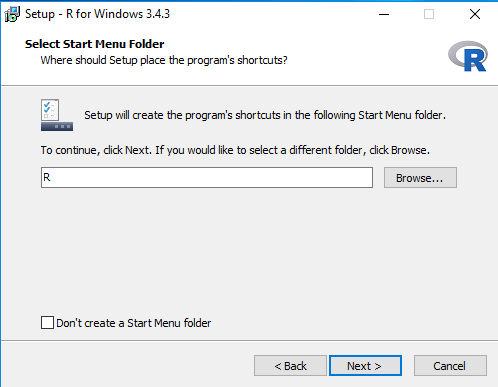
7. Next, allow R to create a shortcut in Program Files if desired (recommended). Click Next.
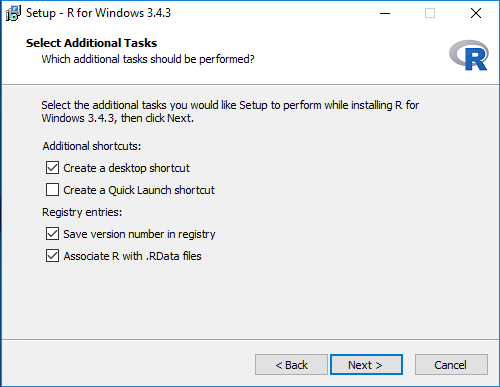
8. Finally, leave the default selections under additional tasks. Click Next to begin the installation itself.
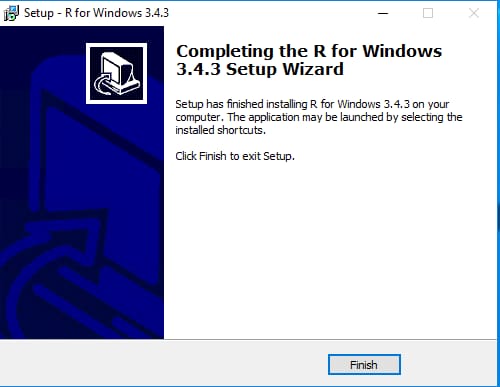
Installing libraries
Once setup is complete, you will have two desktop shortcuts (Windows). We now need to start R and install the packages necessary for integration with Tableau.
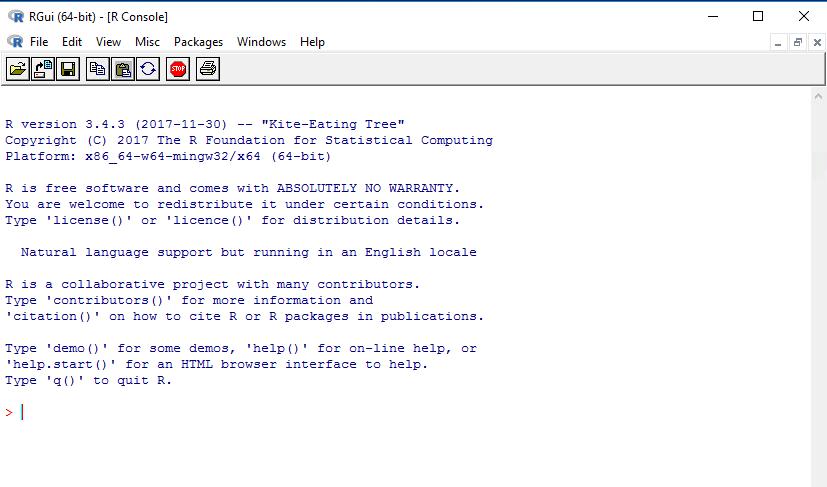
1. Double-click the desktop shortcut labeled R x64 3.4.3.

R will open in a window with a console window displayed. There will also be a command prompt for typing in R commands.
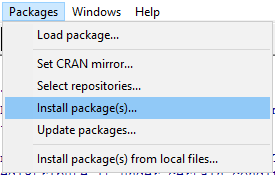
2. We will now install the packages. From the menu bar, select Packages → Install Packages.
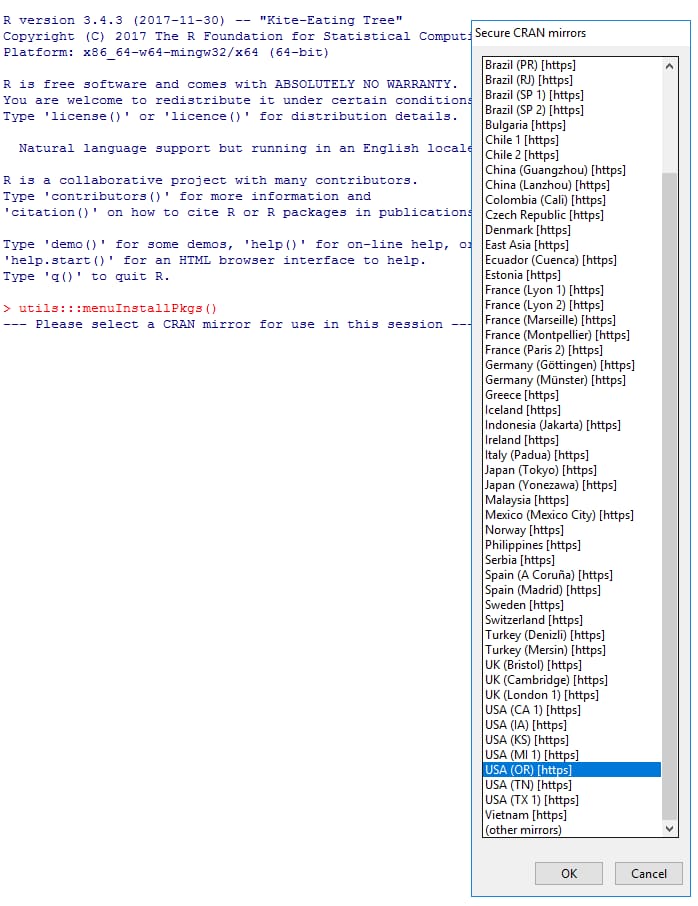
R will prompt you to select a mirror from which we will download the packages.
NOTE: All of these steps require an internet connection. There may be a delay for a list of mirror sites to be provided and displayed. Select the mirror site closest to your physical location and click OK.
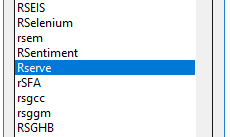
3. At a minimum, we require the Rserve package. We will be installing a second package (mvoutlier) for demo and testing purposes. Get more information on the available packages. Scroll down the list until you see the Rserve package and click OK (it will be quite a ways down the list).
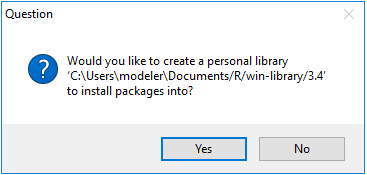
4. Depending on your system, you may be prompted to create a personal library directory as the default directory is set to read only. Answer Yes when prompted to use and create a personal library folder.
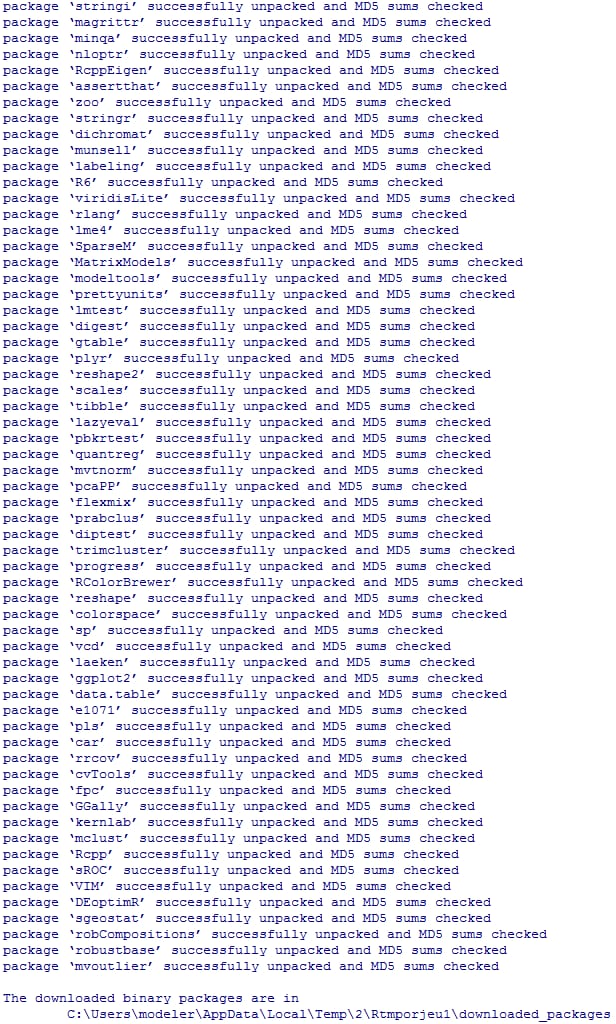
When the package is downloaded and installed, the console will confirm this:

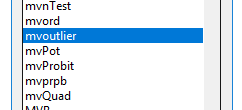
5. We will now download a second package that will be used for demos during the Tableau class.
Click Packages → Install Packages a second time. Scroll down the list until you see mvoutlier and click OK.
This particular package has a number of dependencies which will also be downloaded and installed. Do not be surprised if the installation takes a few moments and you see a number of things scrolling through the console window.
In the next section, we will start the server as well as load the mvoutlier package.
NOTE: Downloading and installing does not constitute starting a specific package. It still must be loaded and/or started to work properly.
Loading a package
Depending on the package, it can simply be loaded and referenced in code or it may need to be started. You will need to refer to the documentation for the specific package to determine the proper course of action.
For mvoutlier, we can simply load this package and it will be available to us later. From the menu bar, select Packages → Load Packages. From the list select mvoutlier and click OK. The console will confirm the package has been loaded by showing that needed modules have been loaded.
![]()
To verify all packages loaded in the console window type search() and hit Enter. R will return a list of all currently installed and loaded packages.

Our Tableau Expert class contains a demo on using mvoutlier with Tableau.
Starting R server
Unlike mvoutlier, R Server must be started as well as loaded. Tableau requires only a basic ‘vanilla’ server to be running. From the console type the following and press Enter:
Rserve(args=”–no-save”)
R Server will return the following if successful. For more details on available command line options for R Server, refer to http://www.rforge.net/Rserve/doc.html.
![]()
Testing the environment with Tableau
Now that we have R Server installed, loaded and running, we can test to make sure it can communicate with our Tableau installation.
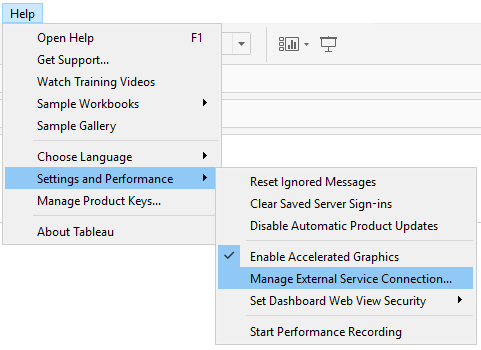
1. Start up your local copy of Tableau. We do not need to load any data or even go to a worksheet to test the connection. From the Help menu, select Settings and Performance → Manage External Service Connection.
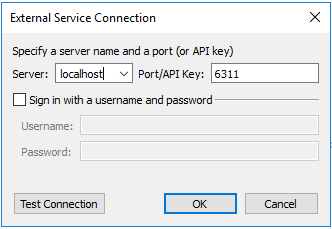
2. In the connection dialog, under the Server drop-down, select localhost. Leave the default port of 6311. Click Test Connection.
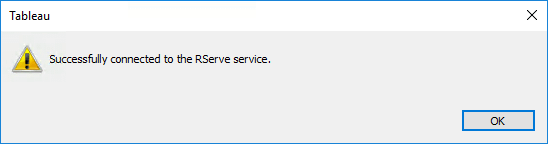
If everything has been configured correctly, Tableau will confirm that it can communicate with R Serve.
Congratulations! You’re now ready to leverage R functions and packages directly in Tableau worksheets!
Need more help? In our intensive, half-day instructor-led, online course Using R in Tableau, you’ll learn how to install, configure and install R and Rserv in your Tableau environment. We discuss the concepts of ratios and aggregation, understand when to use the ATTR function and create specialized visualizations.
Additional resources
R is a complex and deep product. It is beyond our capability to teach you all of its ins and outs in a simple post such as this. Luckily, there are many excellent resources available for you to get more familiar with R.
In addition, if you’re interested in getting a broader perspective on Tableau’s capabilities for advanced analytics, using built-in capabilities as well as integrating with R and Python, you may be interested in our Advanced Analytics in Tableau Use the Force! on-demand webinar. We hope this information has proven useful and wish you the best in your R journey.